How to Prevent Wood Rot in a Vancouver Home
By STOP THE ROT CO.
Wood rot prevention comes down to one variable you can actually control. Fungal decay needs sustained moisture to establish itself, and according to CMHC’s guidelines for on-site wood moisture measurement, wood generally stays low-risk under roughly 19 to 20 percent moisture content. Everything in this guide exists to keep exterior wood below that line, or to dry it out quickly when it crosses it.
That’s a harder job in Vancouver than in most of the country. Environment and Climate Change Canada’s climate normals put our wet season at roughly October through April, six months a year where exterior wood regularly sits in conditions favorable to decay. Prevention here isn’t a once-a-year task, it’s a routine built around that six-month reality.
Where to Focus First
Gutters, Downspouts, and Where Water Actually Goes
Clogged gutters are one of the most common preventable causes of fascia, soffit, and roofline rot, since overflow sends water directly onto wood that was never meant to handle direct saturation. In neighbourhoods with significant tree canopy (much of Vancouver’s older housing stock, from Shaughnessy to Dunbar, sits under mature trees), gutters clog faster than average and need checking more often than the standard twice-a-year rule of thumb. Downspouts should carry water well clear of the foundation, not just off the roof edge, since water pooling near the base of a house is a direct path to sill plate and siding rot.
Grading and Drainage
Soil that slopes toward a foundation, rather than away from it, keeps the ground around a home’s base consistently wet, which affects sill plates, siding near grade, and crawl space humidity all at once. This is a common issue in older properties where landscaping has shifted over decades. A quick visual check after a heavy rain, whether water pools against the foundation or drains away, tells you a lot.
Ventilation
Moisture isn’t only a liquid problem. Poorly ventilated attics and crawl spaces trap humid air against wood, and according to Canadian Wood Council durability research, that trapped-humidity pattern is a well-documented way for rot to develop even without a direct leak. Vancouver’s many older homes with crawl space foundations are particularly exposed here, since older construction didn’t always account for modern ventilation standards. Bathroom and kitchen exhaust fans should vent to the exterior, not into an attic space, since venting indoors just relocates the moisture problem rather than removing it.
Paint, Caulk, and Sealant
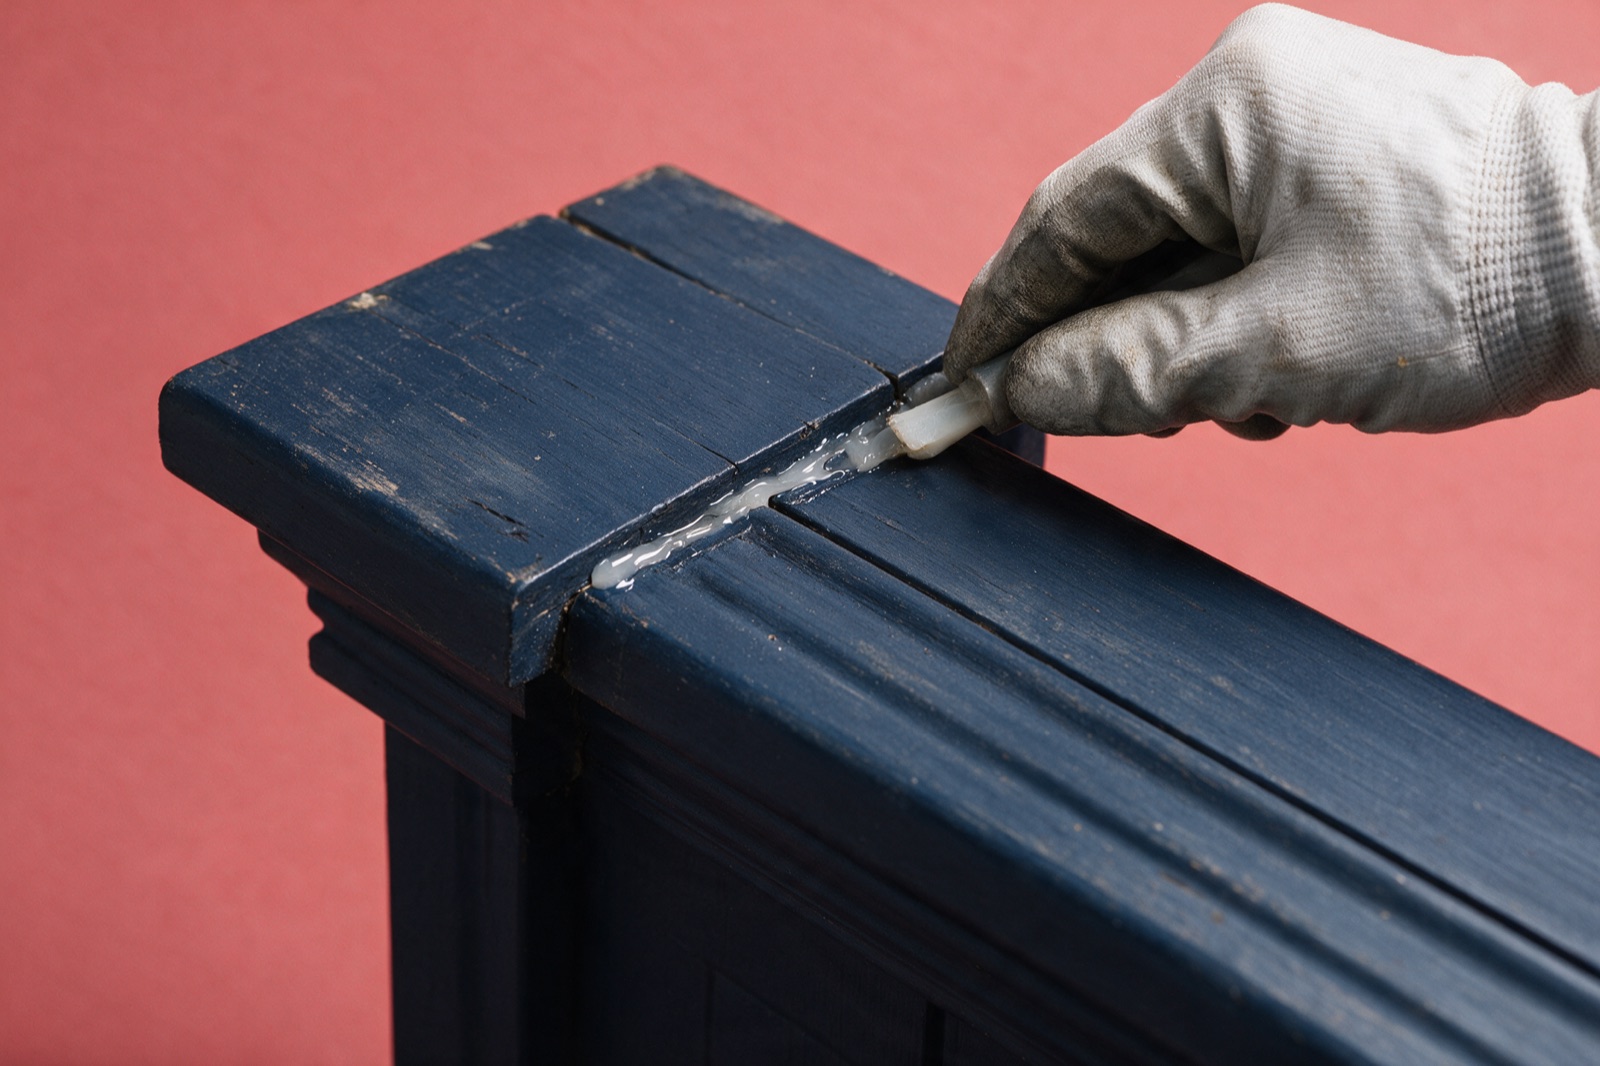
An intact paint or sealant layer is a real barrier, not a cosmetic one. Peeling, cracking, or bubbling paint on horizontal surfaces (windowsills, deck rails, thresholds) usually means water is already getting underneath it, not that the paint simply aged out. Gaps at joints, where a window frame meets siding, or where trim meets a wall, are common water entry points, and a fresh bead of exterior-grade caulk at these joints is one of the least expensive prevention steps available.
A Seasonal Rhythm, Not a Once-a-Year Task
Given how long Vancouver’s wet season runs, a single annual check misses too much. The most effective routine: one inspection toward the end of the wet season, around April or May, to catalog what six months of moisture did, and one before it returns, around September or October, to confirm everything is sealed and ready. For the full location-by-location list to work through at each check, see our complete inspection checklist.
Common Vancouver Trouble Spots to Watch
Deck ledgers and post bases, where the deck meets the house and where posts meet the ground
Windowsills, brickmolds, and door jambs, especially anything with failed caulking
Fascia and soffits, particularly around gutter hardware and blocked vents
Siding within the bottom few courses, where splash-back and landscaping keep wood wetter longer
Sill plates and rim joists, in the crawl space or foundation area Each of these is covered in full detail, including exactly how to test it, in our complete inspection checklist.
When Prevention Wasn’t Enough
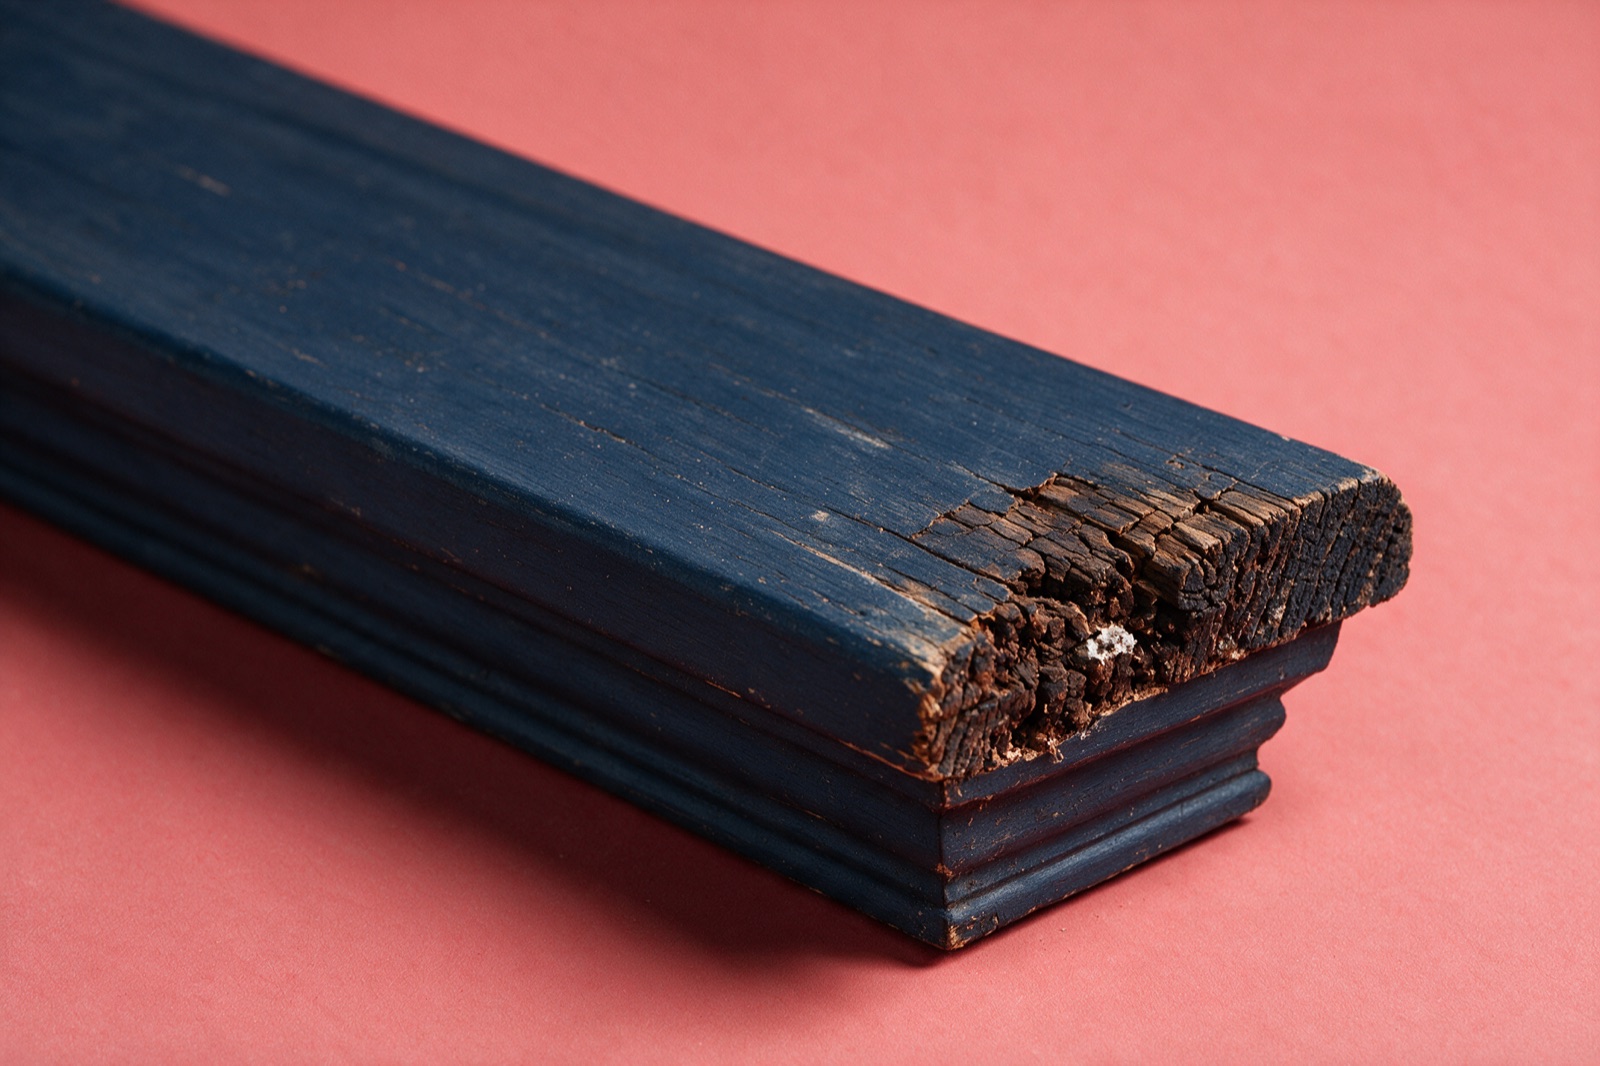
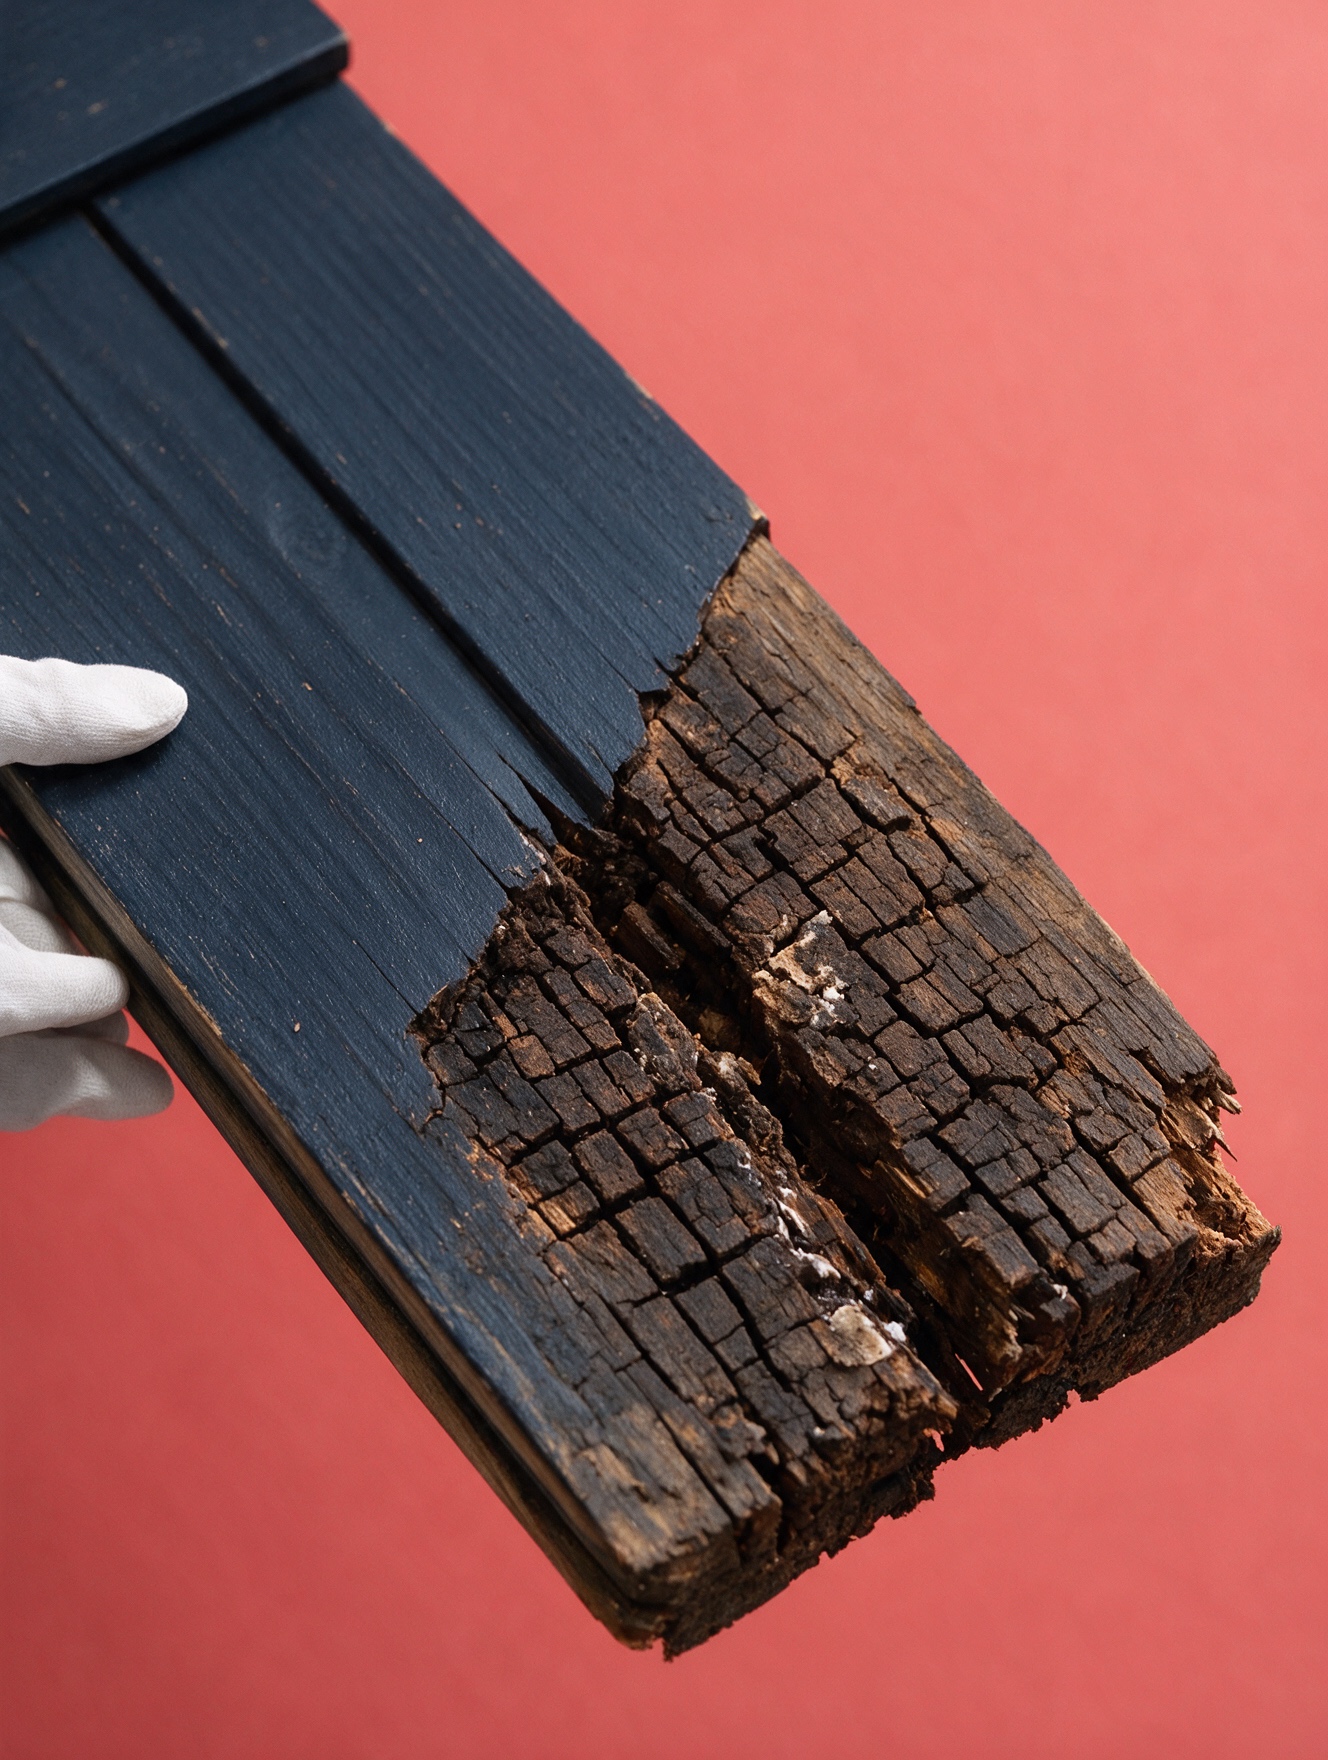
Even a solid routine doesn’t catch everything, a leak inherited from a previous owner, or plumbing damage that’s invisible until it’s advanced. If an inspection turns up soft or discolored wood, the next step is finding the moisture source, not just patching what’s visible on the surface. Painting over a soft spot doesn’t resolve it, and often just hides it until it’s worse.
Not sure if what you’re looking at needs attention? That’s exactly what a free inspection resolves, with an actual moisture-meter reading, not a guess.
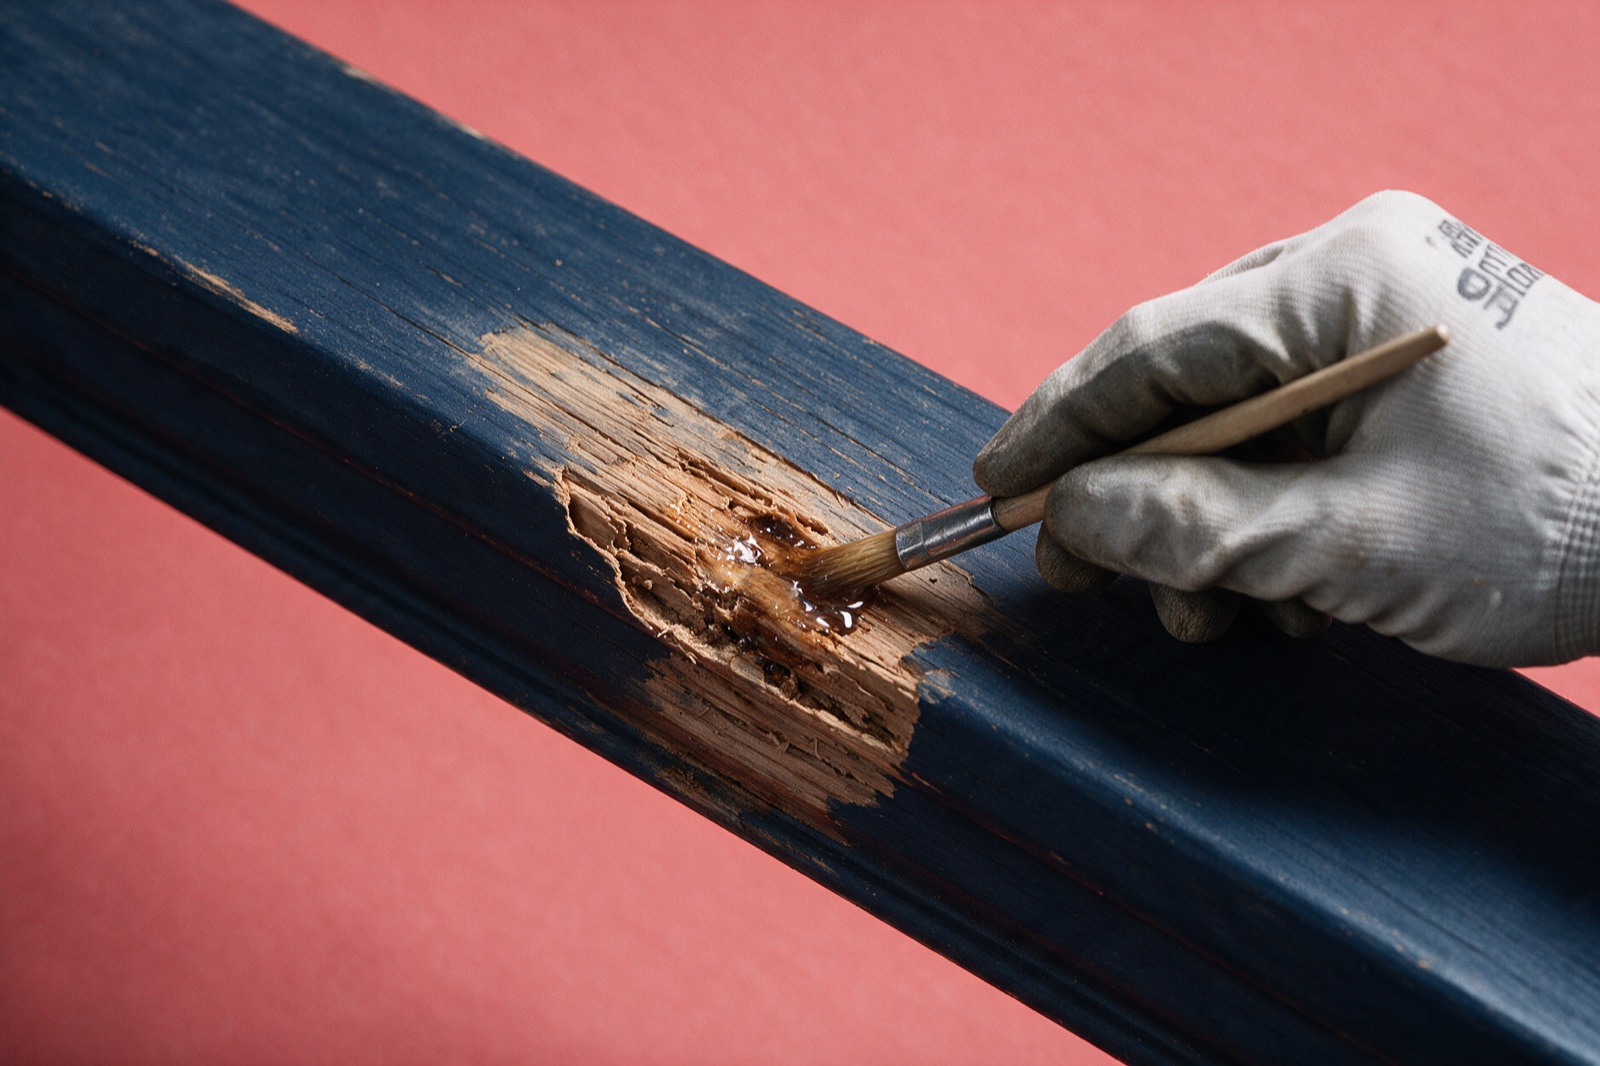
Prevention only goes so far once moisture has already gotten in, see How We Fix It for what an actual repair involves at that point.
Sources: Canada Mortgage and Housing Corporation (CMHC), Guidelines for On-Site Measurement of Moisture in Wood Building Materials; Environment and Climate Change Canada, Canadian Climate Normals; Canadian Wood Council, durability and decay research.